

How to Clean Makeup Brushes and Dry Them Properly
Everyday guidesPublished 4 min readhow to
1:21 · English narration Continue reading the article ↓
Video chapters
Read the video transcript
A useful cleaning routine includes the drying and packing stage. Protect the bristles, keep clean and used tools separate, and stop guessing whether a damp brush is ready.
A makeup brush is washed, then immediately zipped into a travel pouch. The missing step is drying. Build the routine around cleaning, drying and storage, so you know which tools are actually ready.
Before you start, make a clean drying area with room for the brush heads. Keep it apart from used tools. If you are travelling, leave enough time before the kit has to go back into the bag.
Use three simple places: used brushes awaiting cleaning, washed brushes drying, and fully dry brushes ready for use. This is an organisational system, not a promise that household tools have become sterile.
Follow suitable care instructions. Clean the tips, rinse thoroughly and avoid soaking the head-to-handle connection. Let the brushes dry flat with their tips beyond an edge, as dermatology guidance recommends.
A loose head or damaged bristles deserves attention before the next use. Persistent skin irritation needs assessment; cleaning a brush cannot diagnose its cause. Keep the product names and timing if a reaction occurs.
Do not share brushes, and keep a regular cleaning routine. The full article explains a travel-friendly setup and how to avoid putting clean tools straight back among used ones.
Download transcript · English captions · Footage and production credits
Illustrative Pexels footage, original explanatory graphics and music, with synthetic English narration. People shown do not endorse products.
A useful cleaning routine includes the drying and packing stage. Protect the bristles, keep clean and used tools separate, and stop guessing whether a damp brush is ready.
The short answer
Clean makeup-brush tips with an appropriate gentle cleanser, rinse thoroughly and let them dry flat with the tips beyond an edge. Avoid soaking the handle connection. The American Academy of Dermatology advises washing brushes every seven to ten days and not sharing them; follow any material-specific instructions from the brush maker.
Table of Contents
- The cleaning method in brief
- Set up the drying space before the sink
- Use a simple three-zone system
- Inspect the tool, not just its colour
- What changes when you travel in Bali
- Cleaning cannot diagnose a skin problem
- Make the next cleaning easy
- Sources
- Explore this topic
You wash a foundation brush, squeeze it into a travel pouch and leave the house. The washing happened, but the job was not finished: the brush still needed a chance to dry.
Treat cleaning, drying and storage as one routine. That makes the process more useful than buying an elaborate cleaning gadget and then putting damp tools back among used ones.
This guide concerns ordinary reusable makeup brushes. Follow the maker's instructions for specialist materials, sponges or powered cleaning devices.
The cleaning method in brief
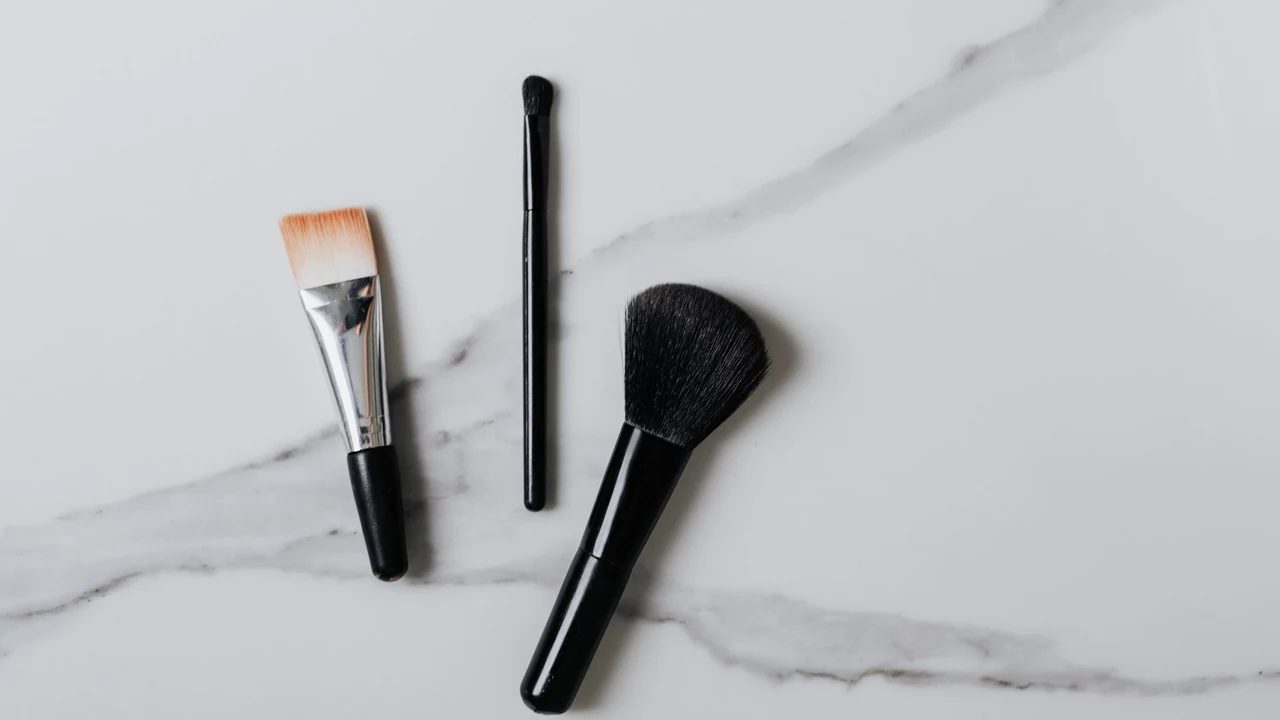
Illustrative licensed stock photograph. · Photo: https://kaboompics.com/ · pexels.com
View full size ↗The American Academy of Dermatology advises washing brushes every seven to ten days and avoiding sharing. Its method is to rinse the tips in lukewarm water, work in a gentle shampoo, rinse until clear, remove excess water with a clean towel and dry flat with the tips extending beyond an edge. Avoid immersing the connection between head and handle, which can loosen its attachment.
Use that as the basic method, together with any specific care instructions for your brush. Washing is not a claim that a household brush has become a sterile medical instrument.
Set up the drying space before the sink
Choose a clean, stable place where the brush heads can sit without being crushed. Make room before you begin; otherwise a clean wet brush tends to end up wherever there is a spare centimetre.
Keep the drying area separate from the used tools waiting to be washed. If several people share a bathroom, make it clear which brushes belong to whom.
For travel, plan around the next time you need to pack. Cleaning immediately before checkout creates a predictable problem if the brushes are still wet when the suitcase must close. A smaller selection of regularly used tools may be easier to maintain than a large kit you cannot dry properly.
Use a simple three-zone system
| Zone | What belongs there | What to avoid |
|---|---|---|
| Used | Brushes awaiting cleaning | Mixing them into the clean collection |
| Drying | Washed brushes in an appropriate position | Treating them as ready just because the surface looks dry |
| Ready | Fully dry brushes stored for use | Returning a used brush without noticing |
This is an organisational suggestion, not a laboratory hygiene standard. Its purpose is to remove the daily guessing: “Did I clean this one, or did I only move it?”
A small note on your phone can record the cleaning date. You do not need an elaborate app or an exact bacteria count to keep the routine consistent.
Inspect the tool, not just its colour

Illustrative licensed stock photograph. · Photo: RDNE Stock project · pexels.com
View full size ↗Residual foundation can make a brush look different from a newly bought one. Colour alone does not tell you whether it is clean, damaged or suitable to keep using.
After cleaning and drying, check whether the head and handle remain secure, whether bristles are shedding excessively and whether the tool still works as intended. If something looks damaged or behaves unexpectedly, check the manufacturer's care advice rather than compensating with harsher treatment.
Avoid applying a stronger cleaner simply because the brush has a stubborn stain. Material compatibility is a separate question from whether a substance sounds more disinfecting.
What changes when you travel in Bali
The useful travel questions are practical: where you can wash the tools, where they can dry undisturbed and how to keep the clean set separate inside your bag.
Do not borrow a brush because yours is still drying. Do not assume a hotel's cosmetic pouch or another person's kit provides a clean storage area.
If you are also introducing new skincare while travelling, keep that experiment separate. Changing your cleanser, serum, foundation and tools together leaves a confusing history if irritation appears. The established post-workout skin-care guide addresses a different part of the routine.
Cleaning cannot diagnose a skin problem
A new breakout does not prove that a brush caused it. Nor does washing the brush establish that continued use of a particular cosmetic is appropriate.
Record which products and tools touched the area and when symptoms started. If irritation is persistent or concerning, seek a dermatologist's assessment; the AAD specifically recommends this when makeup may be contributing.
For marks remaining after a breakout, see dark spots after pimples. Scrubbing harder with a tool is not a substitute for understanding that problem.
Make the next cleaning easy
Choose a repeatable time with enough room for drying, use the method suited to the brush and return only fully dry tools to the ready collection. A modest routine you finish is more useful than a complicated one that stops at the rinse.
Instructions & useful references
- How to clean your makeup brushesAmerican Academy of Dermatology · 7–10day routine; clean tips, rinse, protectheadconnection, flatdrying; do notshare; skinreactionassessment.
Sources checked on September 28, 2026. This guide provides general information, with practical planning suggestions. It is not an individual treatment plan.